Setting up DNI with Google Tag Manager
Google Tag Manager allows you to set up Dynamic Number Insertion (DNI) without directly accessing the source code of a website. This method works for both Source-based and Session-based DNI. For URL-based DNI, Google Tag Manager can install the JavaScript snippet, but the HTML class lmc_track must still be added directly to the website.
Steps for Setting up DNI
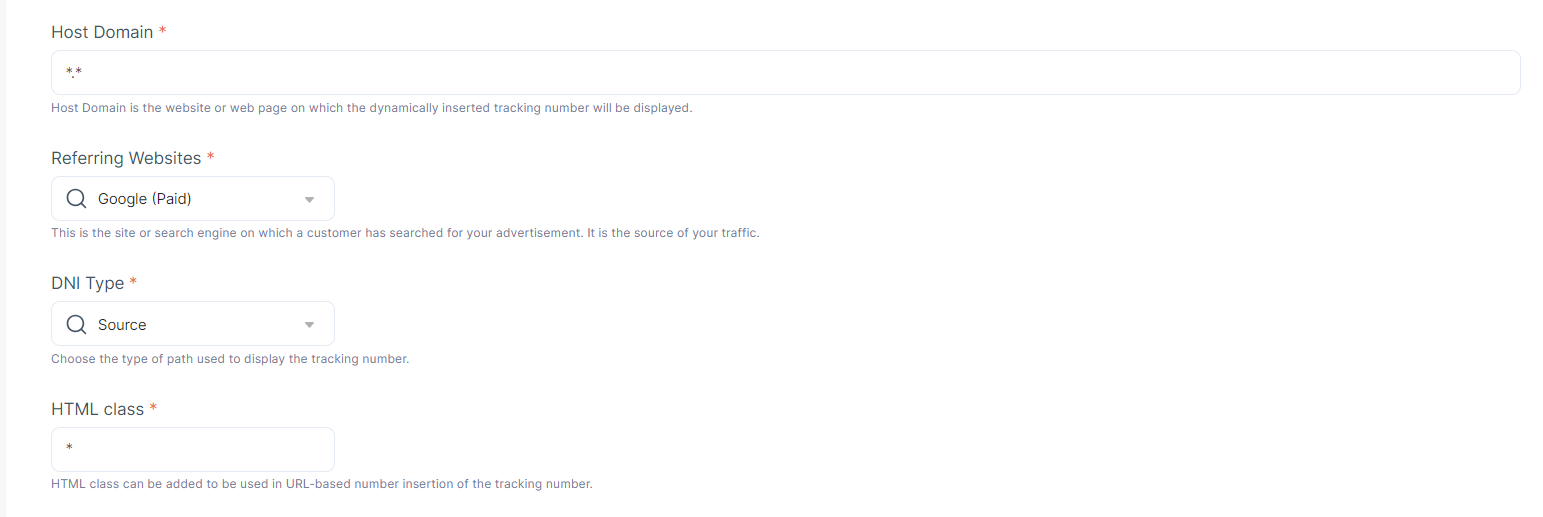
1. Configure DNI in CAI
- When adding a new DNI number in Convirza Actionable Insights (CAI), use the * character as the HTML class.
- The * character identifies and replaces all phone numbers on the webpage with the DNI number, eliminating the need for a custom HTML class.
2. Copy the DNI Code
- Navigate to Settings > Customization > DNI in CAI.
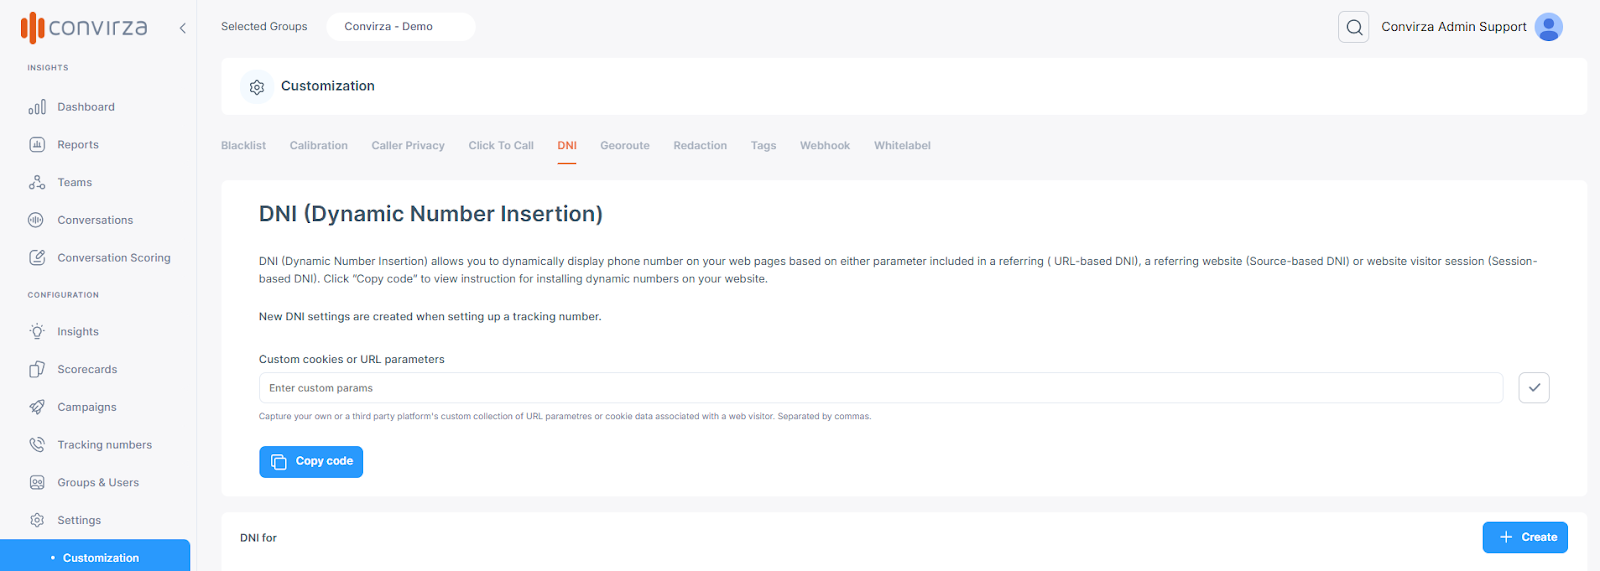
- Click the Copy Code button
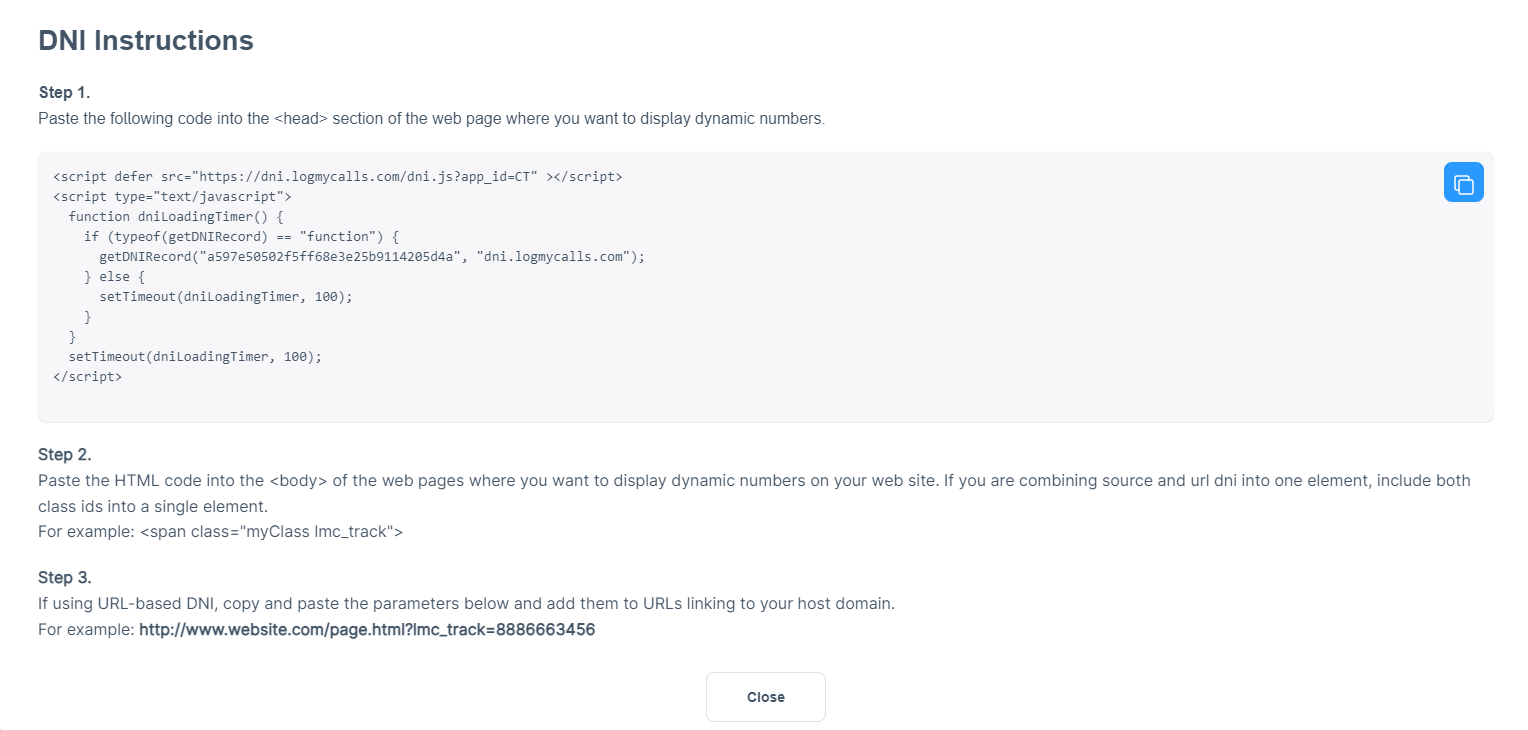
- Copy the entire code provided in Step 1.
- Note: You do not need to complete Steps 2 or 3 unless you are using URL-based DNI.
3. Add the DNI Code to Google Tag Manager
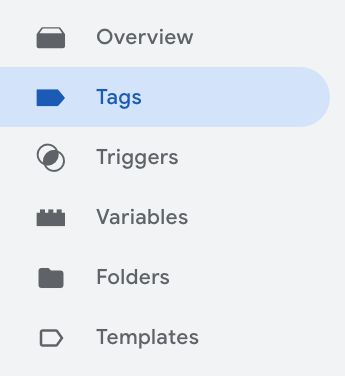
Step 1: Log in and Access Tags
- Log in to your Google Tag Manager account.
- From the left-hand menu, click Tags.
Step 2: Create a New Tag
- Click New to create a new tag.
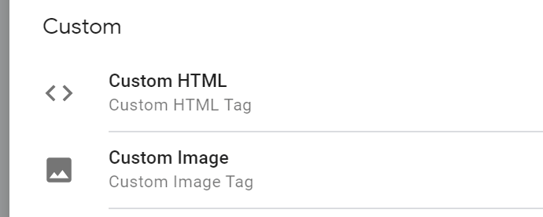
- In the Tag Configuration section, click Custom HTML from the right-side menu.
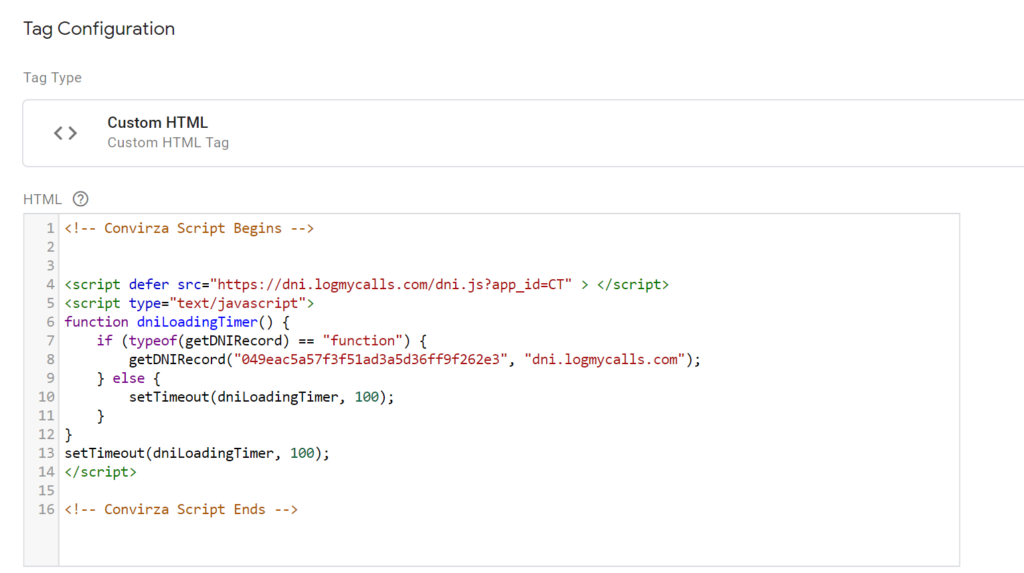
- Paste the DNI code copied from CAI into the text box.
Step 3: Configure the Trigger
- Click Triggering.
- Click the Plus (+) button in the upper-right corner to add a new trigger.
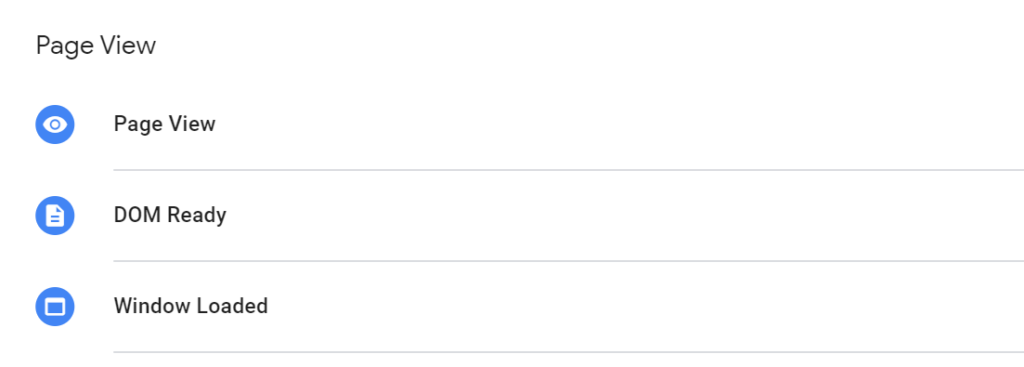
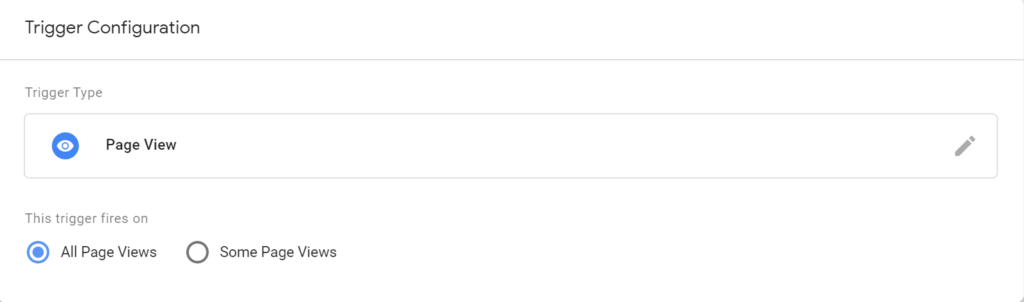
- Select Trigger Configuration and choose Page View.
- Decide whether the DNI script should fire on:
- All Pages: Enables DNI across the entire site.
- Some Pages: Allows you to specify which pages should include DNI.
Step 4: Save and Name Your Trigger
- Name your trigger and click Save.
Step 5: Save and Name Your Tag
- Name your tag and click Save.
Step 6: Submit and Publish
- Once the tag is configured, click Submit to publish your changes.
- Preview your configuration to ensure the DNI script is working as expected.


4. Verify Your Setup
- Once your tag is published, the DNI numbers should begin swapping out on your website according to the setup.
Additional Notes for URL-Based DNI
- For URL-based DNI:
- Use Google Tag Manager to install the JavaScript snippet.
- Ensure the lmc_track HTML class is manually added to the website source code for proper functionality.
By following these steps, you can seamlessly set up Dynamic Number Insertion using Google Tag Manager without modifying your website's source code. For assistance, reach out to the Convirza Support Team:
- Email: support@convirza.com
- Phone: 855-889-3939
- Support Page: www.convirza.com/support